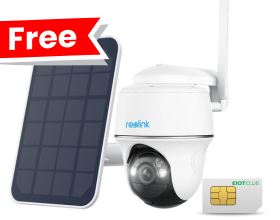
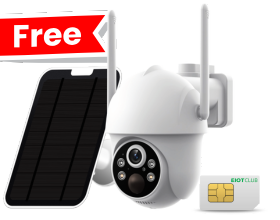
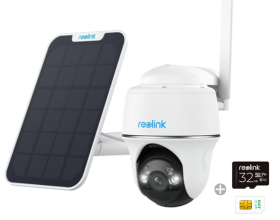
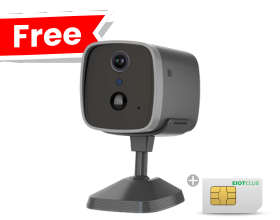
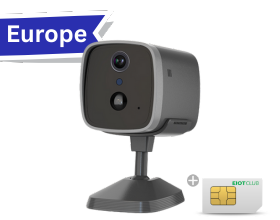
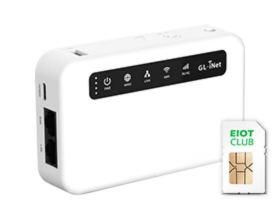
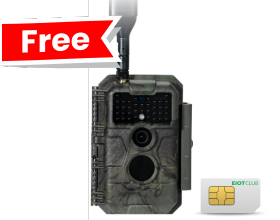
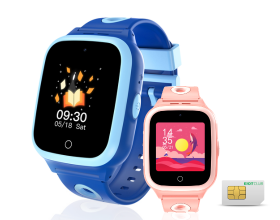
1. Power on

While the Reolink App is downloading, insert the SIM card and turn on the camera's power switch.
• There is no power switch for cameras with a removable battery.
• If you could not find the button, please scan the QR code below for more detailed instructions.
2. Add to Reolink APP

If the phone doesn't respond, please tap Input UID/IP below the scan window, and then enter the 16-digit UID number under the QR code of the camera.


Yes, currently, this camera can work with Google Assistant.
Tips: How to add this camera to Google Assistant?

Yes, the camera can support time-lapse. It can save time-lapse photos and videos to the microSD card.
How to Set Up Time Lapse?
