Essential Trail Camera Tips for Winter

Winter is a prime time for deer hunting, as colder weather influences deer movement and behavior. Trail cameras become vital this season, helping hunters track deer activity and patterns. However, winter also brings unique challenges, like harsh weather and shifts in deer habits. Using trail cameras effectively in these conditions requires proper setup and strategy to make the most of the hunting season.
Choosing the Right Trail Camera for Winter Conditions
When selecting a trail camera for winter, focus on features designed to handle freezing temperatures, snow, and low-light conditions.
Key Features to Look For
- Temperature Rating: Ensure it’s rated for extreme cold to avoid malfunctions.
- Battery Efficiency: Opt for lithium batteries or solar power options to extend battery life.
- Infrared/Night Vision Capabilities: Winter has shorter days, so infrared/night vision is essential for capturing nocturnal activity.
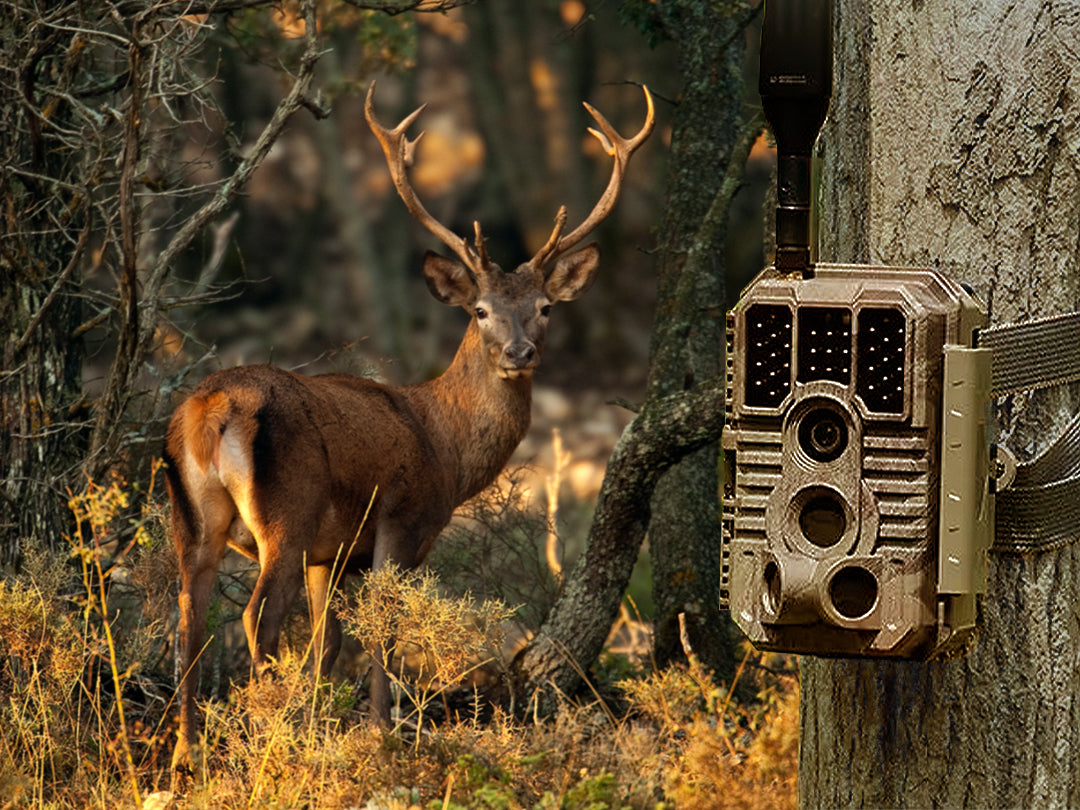
Recommendation: The GradePro Trail Camera is built for durability and energy efficiency, making it ideal for colder climates and extended use in the field."
Preparing Your Trail Camera for Winter
Ensure your trail camera is ready to handle harsh winter conditions by following these steps:
- Use Lithium Batteries: Cold temperatures drain batteries faster. Lithium batteries last longer and function better in low temperatures.
- Snow and Ice Protection: Position cameras to avoid direct exposure to snow buildup. A small cover or angle adjustment can prevent snow from obscuring the lens.
- Optimize Low-Light Settings: Adjust night vision and infrared settings for early morning or dusk activity, when deer are most active in winter.
How Many Trail Cameras Do You Need?
For smaller areas or a single high-traffic trail, one trail camera might be sufficient. However, a single camera may not capture the full range of deer movement, as deer often cover wide areas. Using multiple cameras significantly improves coverage, providing more real-time scouting information and a larger set of data to analyze. This setup also reduces fuel costs for scouting trips, as you’ll have a clearer picture of deer activity across various points in your hunting area.
Ideal Placement Locations for Winter Cameras
Positioning your trail camera in high-traffic areas ensures the best chance of capturing deer activity.
Best Locations for Winter Deer Activity
- Along Trails: Find trails with visible deer tracks to capture regular movement.
- Near Food and Bedding Sources: Deer are more likely to be seen near reliable food or sheltered areas.
- Natural Funnels and Bottlenecks: Natural paths in forests are common routes for deer during snow, enhancing the likelihood of capture.
Camera Settings for Winter Photography
Configuring your camera correctly helps capture clearer images in winter.
- Sensitivity Levels: Increase sensitivity to capture deer movement without triggering falling snow.
- Motion Detection Adjustments: Use lower sensitivity to avoid false triggers from snow or wind.
- Night Vision and Infrared: Ensure these settings are optimized for longer nights and low-light visibility.
Maintenance Tips for Winter Trail Cameras
Regular upkeep of your trail camera during winter ensures it operates smoothly.
- Snow Clearing and Lens Cleaning: Check cameras regularly and remove any snow or ice.
- Battery and Storage Checks: Replace batteries and clear memory cards when needed.
- Data Backup: Transfer images frequently to prevent data loss due to cold weather card malfunctions.
Conclusion
Winter provides a unique and rewarding deer hunting experience, especially when paired with the right trail camera setup. For reliable winter performance, consider the GradePro Trail Camera, which offers durability and battery efficiency in cold conditions. For more deer hunting strategies, check out our Deer Hunting Tips Guide. With the right tools and approach, you’ll be well-prepared for a successful winter season!


